

It is said that kitchens and bathrooms sell homes. This is because they are typically expensive to update and time consuming to do so. And who wants that headache? Exactly. For that reason, no one walks into an oak kitchen with brass hardware, 21 year old stained and noisy white appliances, Formica counter tops (complete with a myriad of burn stains), an island so low it had to have been made for Oompa Loompas and all of it illuminated with florescent lights doubling as a graveyard for insects and says, “Oooooh! This is the kitchen of my dreams!”
Unless you are me and Cowboy.
The River House kitchen was honestly so bad that I have zero photographic evidence of it in its full “before” state glory. This is because approximately 90 seconds after we closed on the house the dwarf island was in the garage and the appliances were updated to stainless.
Phew! That was a close one.
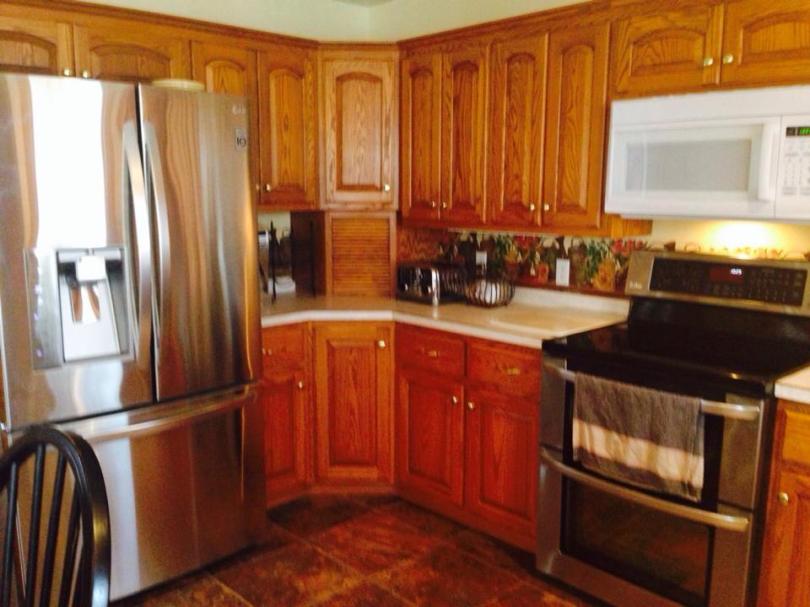
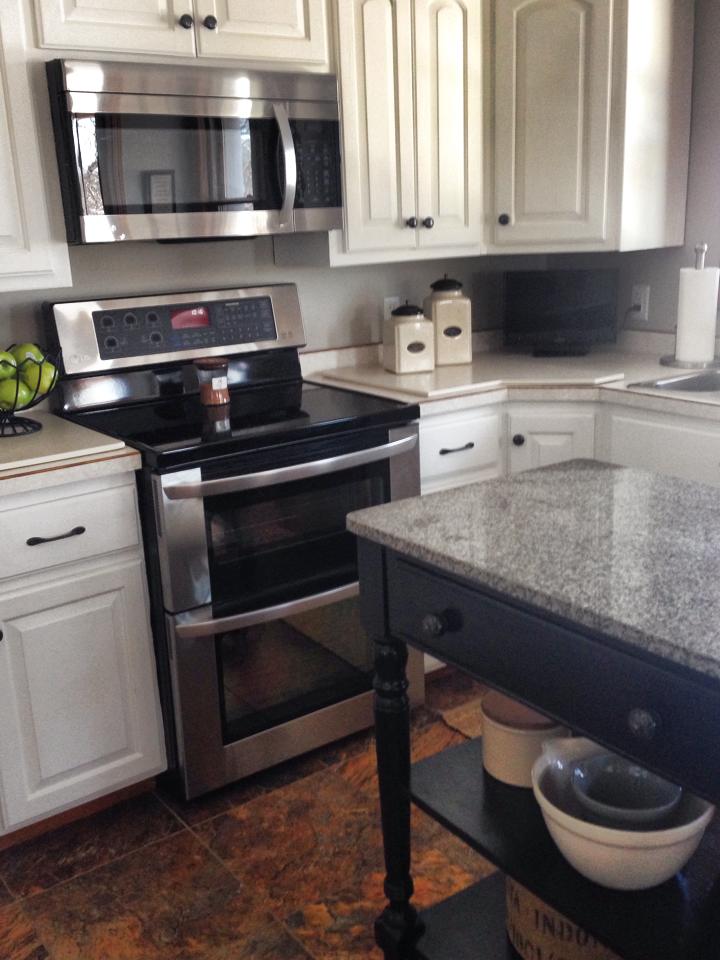
So what I do have are a few snapshots of it about two minutes after we moved in. (Check that floral wallpaper border doubling as a back splash. Was that ever hip? I am not sure.)
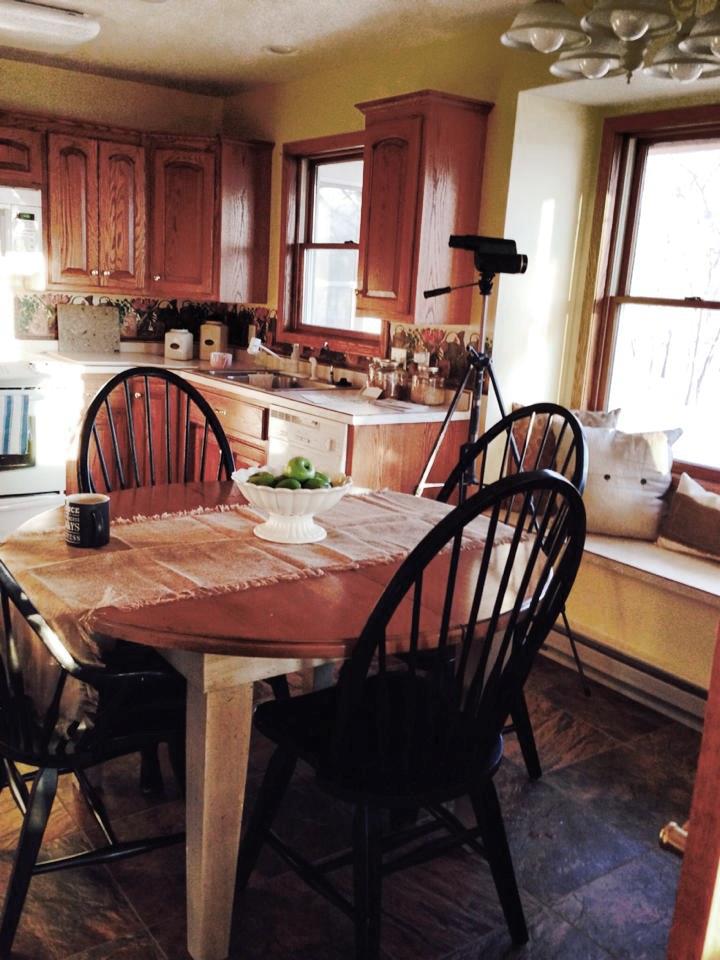
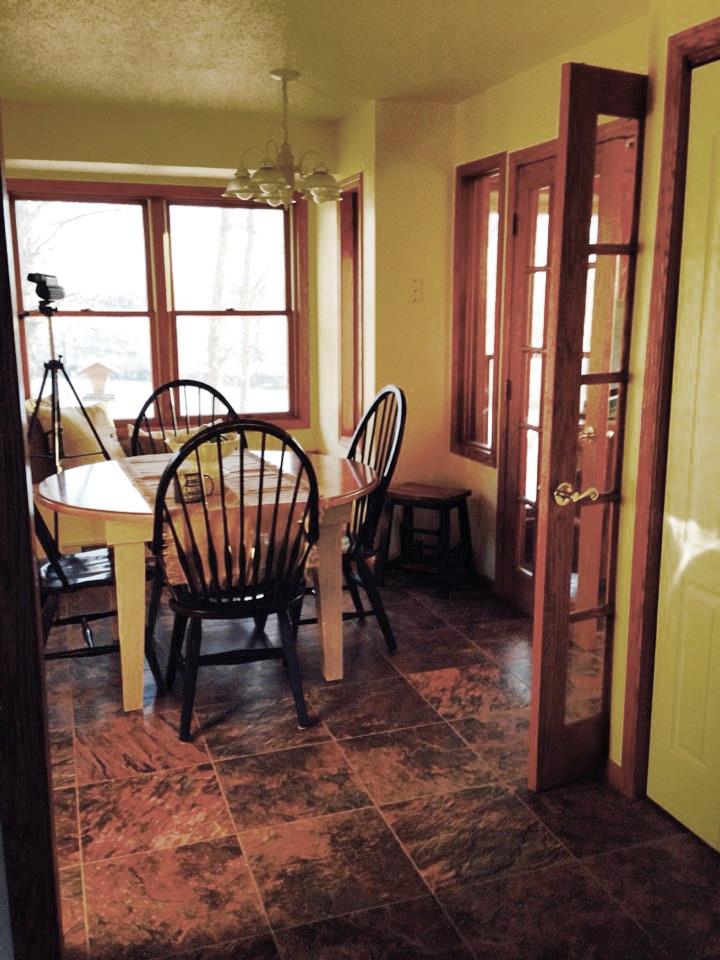
Yeah, don’t ask my what is up with that light fixture in the dining area. It is not only very dated it is oddly placed. That was gone about 5 minutes after this picture was snapped, replaced with a colonial shaded style and centered over the table.
Of course, in my imaginary limitless budget land, I am knocking down walls and ripping out cabinetry. I’m installing a HUGE island, granite or marble counter tops, a sweet new faucet, hardware from Italy, recessed and pendant lighting and ooooh . . . who wants a wine fridge? I do! I do!
But in reality land, I’m looking at this and thinking, “What a catastrophe. How do I tackle this for $1000 or less?”
The answer, my dear children, is . . . paint.
Gallons and gallons. Of paint.
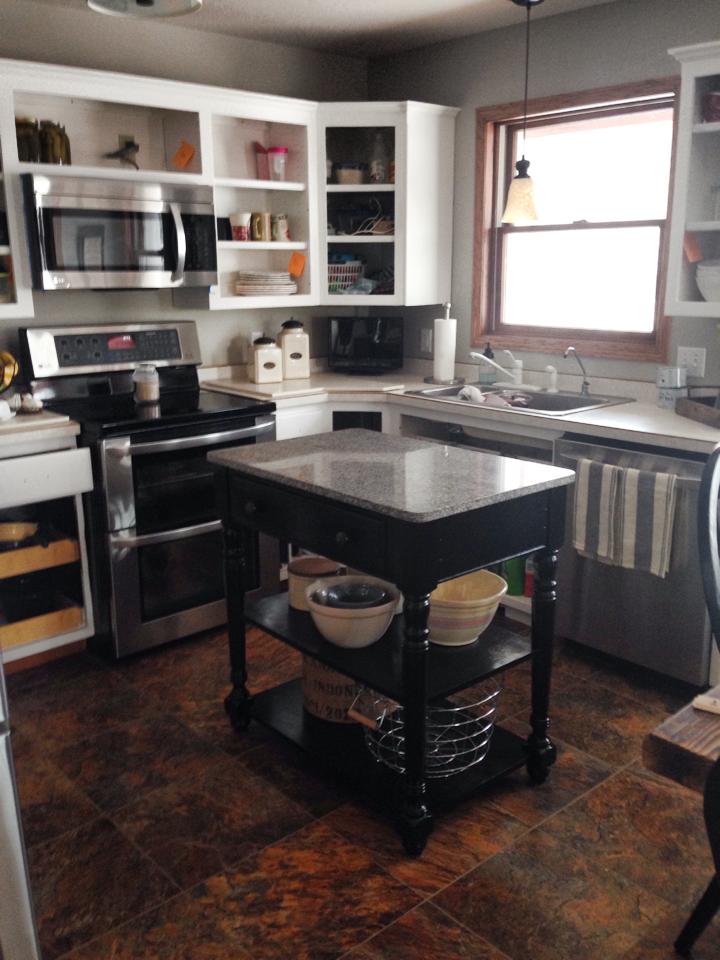
The first improvement we made after the appliances, new light fixture and island removal was the purchase of a $200 butcher block we found at an antique store. It had this great granite counter top and was the perfect size and scale for the space. Seconds after spying it, it was bought and fireman carried by Cowboy outta that place.
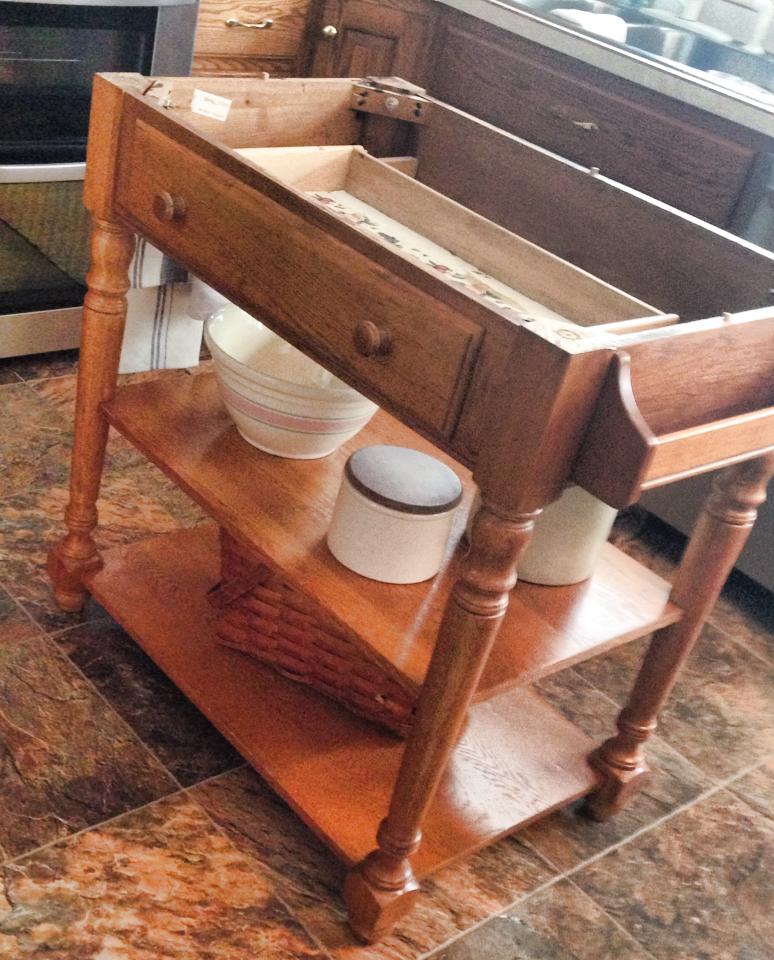
Of course, it also needed a paint job. So here is my before picture with the counter top removed. I picked up some glossy black enamel paint, took a random Thursday afternoon off of work, and rolled up my sleeves.
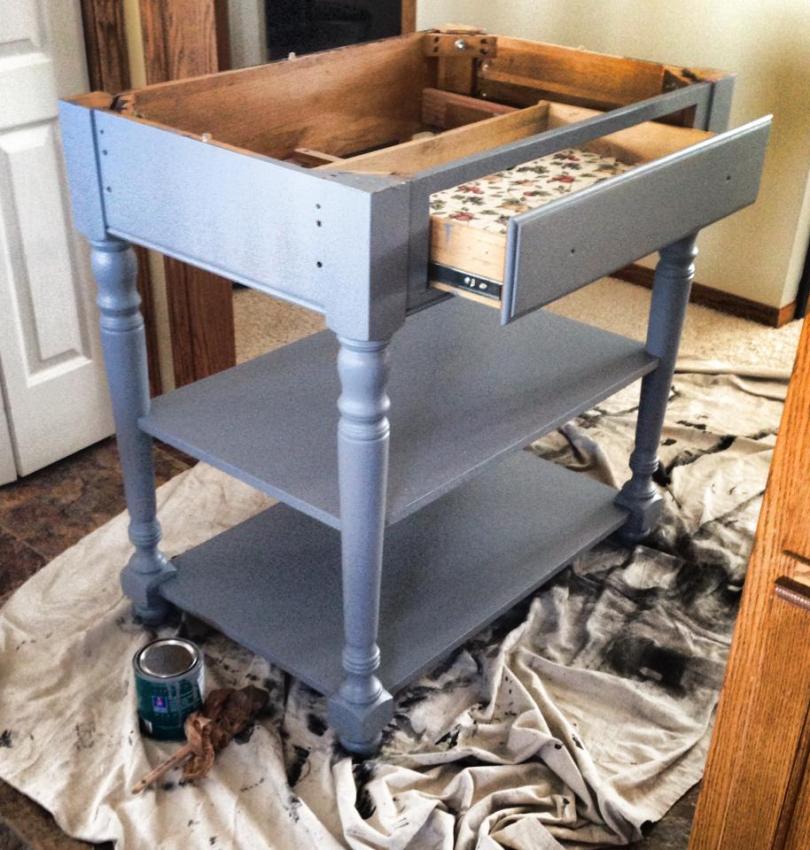
Although grey is a very “in” color scheme right now, do not be fooled. This was the primer. If you are not using chalk paint, you will need to sand and prime finished wood before painting it your color of choice. This gives the paint something to stick to (as it will flake off if you simply paint over stain and polyurethane).
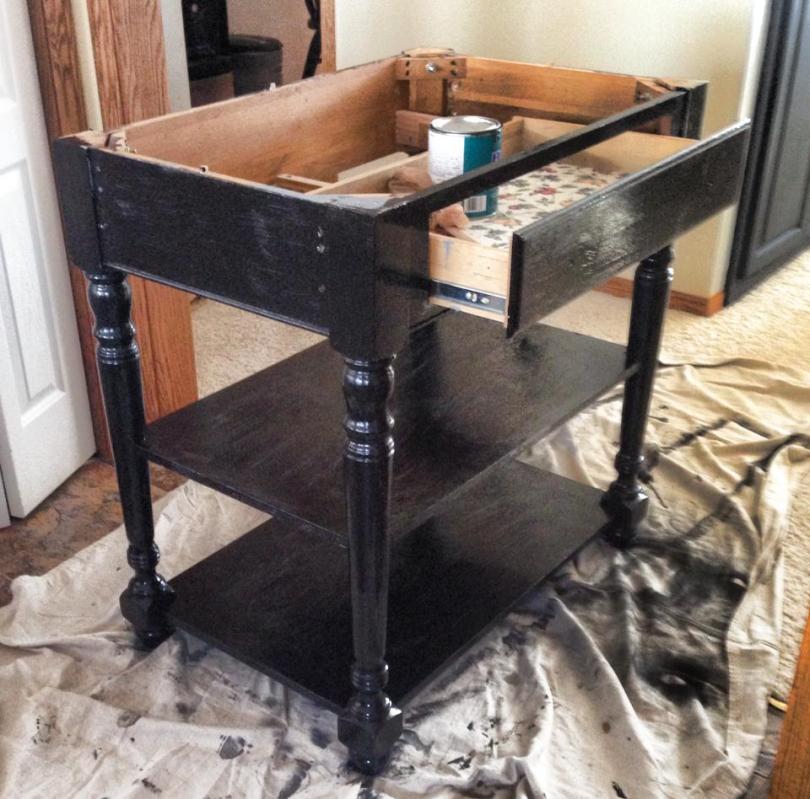
After it was primed, it took about two coats of glossy black paint to finish.
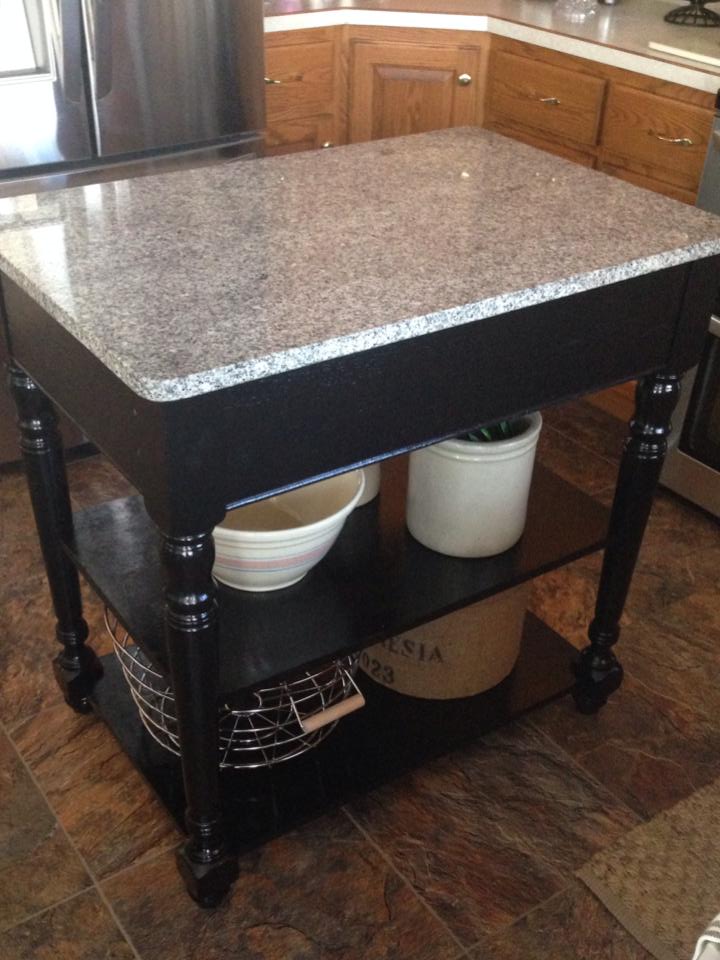
I loved it! Here is the finished product with a few accessories keeping with my favorite style: rustic/vintage/farmhouse.
Once the island was complete, it was time to tackle the cabinets. For these, I chose my all time favorite paint that you saw in my previous post about our bathroom makeover, “Cowboy vs Cyclops” — Annie Sloan Chalk Paint.

As mentioned, this is the stuff dreams are made of, people. You need not sand, strip or prime when using this brand of chalk paint. It is heavenly! Painting kitchen cabinets is a quick way to update them and this paint is the bomb dot com.


For a kitchen project of this magnitude, it is best to remove all of the cabinet doors and hinges. (Label! Label! Label! See those sticky notes? Use a labeling system that makes sense to you – and do the same thing for the hinges when they are removed as well. We labeled paper plates and spread them out on the dining room table.)
And most of all, do not be shy about drafting your family’s help. The picture above is of my oldest college age daughter in slave mode doing her part to help mom with this “teeny tiny weekend project”. The picture below captures a glimpse at another kiddo who was enlisted against her will. Nothing makes your children love you more than a great weekend warrior endeavor! As long as you can handle some eye rolling and deep sighing while you proclaim how hard work builds character, it is worth the adolescent angst to hand those kids a paint brush while reminding each and every one of them about the back labor and delivery horror stories of their births and how that dang epidermal only took on one side of your body.


Once you have your slave army, the fun part begins.
Since kitchens are so high traffic, it is recommended that four coats of paint be used. Yes, four. You don’t want your beautiful paint job flaking off six months down the road. If you plan to sell someday, this extra effort can either result in a very healthy offer or peeling cabinetry that sends prospective buyers heading for the hills.
I did four coats on the frames and four coats on both sides of the cabinet doors. (Note: You will note in the before picture the yellow walls and wallpaper border. Those were also addressed during this weekend project. And yes – this was one long weekend!)
But considering the end results, it was all well worth it. Don’t you agree?


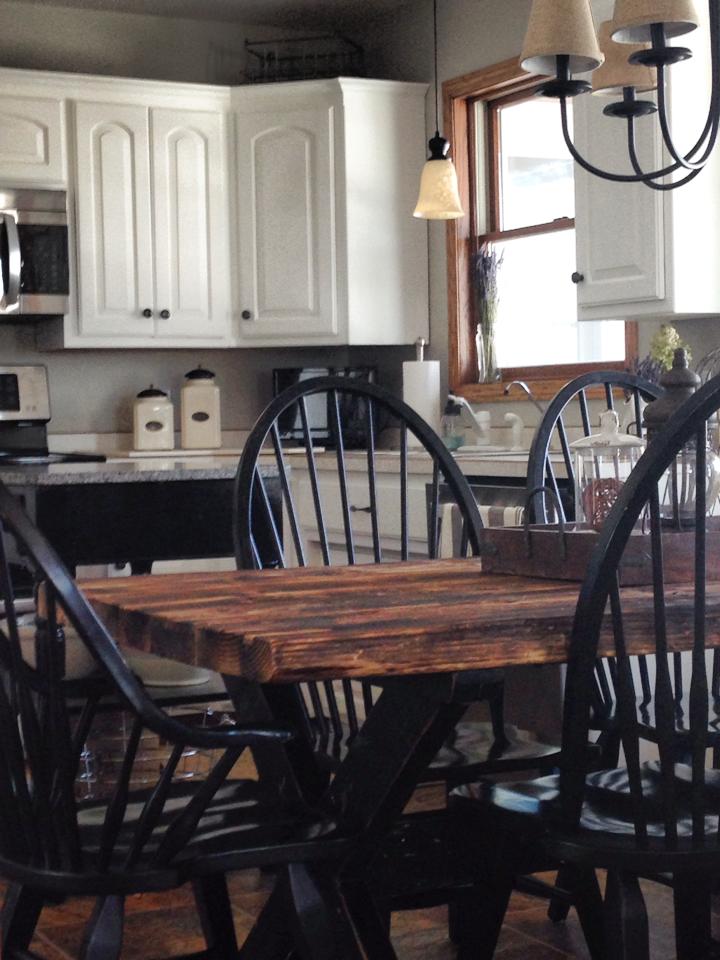
The end result is amazing. The contrast of the white cabinets with the black island and dining room chairs really sharpens up the space. It looks clean and bright.
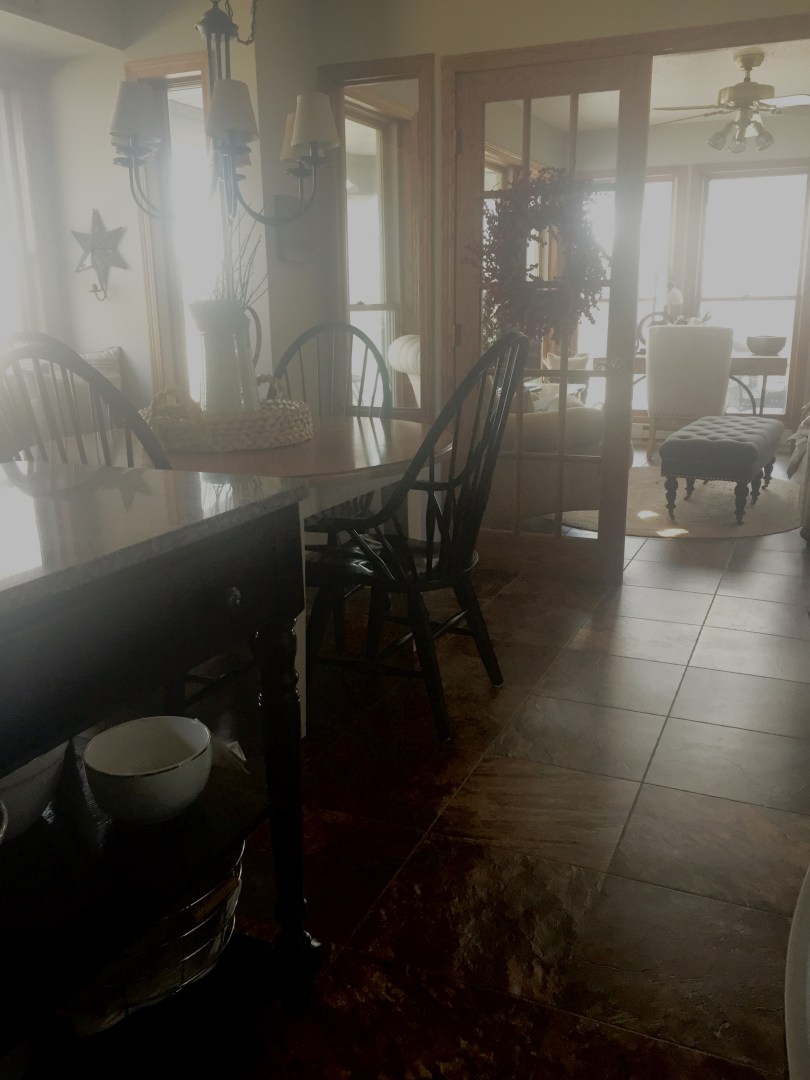
It has been about a year since the kitchen transformation. The only thing I’ve done is add a few extra rustic accessories atop the cabinets and switched out the dining room table for a smaller version. As is my recommendation for anyone’s home, it is always and forever a work in progress and an extension of your tastes and personality. Adding and subtracting to a room is what keeps it alive and not stagnant.
The following picture I took just a few minutes ago – I apologize for the brightness of the morning sun. The smaller table makes the space feel larger, it was a good swap. (The rustic table in here previously went back into the formal dining area.)

Kitchens are the heart of the home and therefore I hope this story inspires you! Don’t think you have to win the lottery to have an updated cheerful kitchen. If you’re willing to put in a little hard work and a little bit of money (even $100 worth of paint makes an impact!) — you can have the space that feels like home . . . your home.
Design Tip – Farmhouse Style
If you are fan of the farmhouse style like I am, the best way to accomplish this is with a freestanding piece of furniture. In our case, the island was just the ticket. You can also add a china hutch or pie safe if you have the room.
Accessories such as ironware, pottery, and baskets also add that extra texture to the space that gives it a cozy farmhouse feel.
Finishes are also key. We spray painted our brass knobs with black hammered spray paint. For the island I added new rustic metal knobs. Mixing and matching finishes also accomplishes that farmhouse look so many people are loving these days.
Design Tip – Leave Existing
When planning your kitchen makeover budget, you don’t have to update your faucet or your counter tops in the first phase. Did you even notice that my counter tops and faucet had not changed? Exactly. You oohed and ahhed and didn’t even see that detail. I know when you’re in the thick of it you want to tackle everything, but for a larger space, prioritize the things that make the largest impact and worry about those finishes down the road.
Design Tip – Project Timeline
I took 3 days of vacation for this project so essentially this was a five day weekend to accomplish all of this. And I put in 12+ hours days. (I was very grateful to return to “work” when this “vacation” was done!) It still took a lot longer than I thought it would – so be patient and do not kill yourself. Worst case scenario – you may need to sacrifice another weekend (or two) – but it will get done.
The kitchen transformation of The River House is the one cowboy and I are most proud of! It was, by far, a wretched space when we first moved in. Now? It is our favorite place in the whole house. This is the place where the hustle and bustle of each day begins, where coffee is made, dinners are prepared, and where our friends hang out when they stop in.
Thank you for stopping by, we hope you’ll come back again soon!
Peace, Joy and Blessings,
Audra

One comment